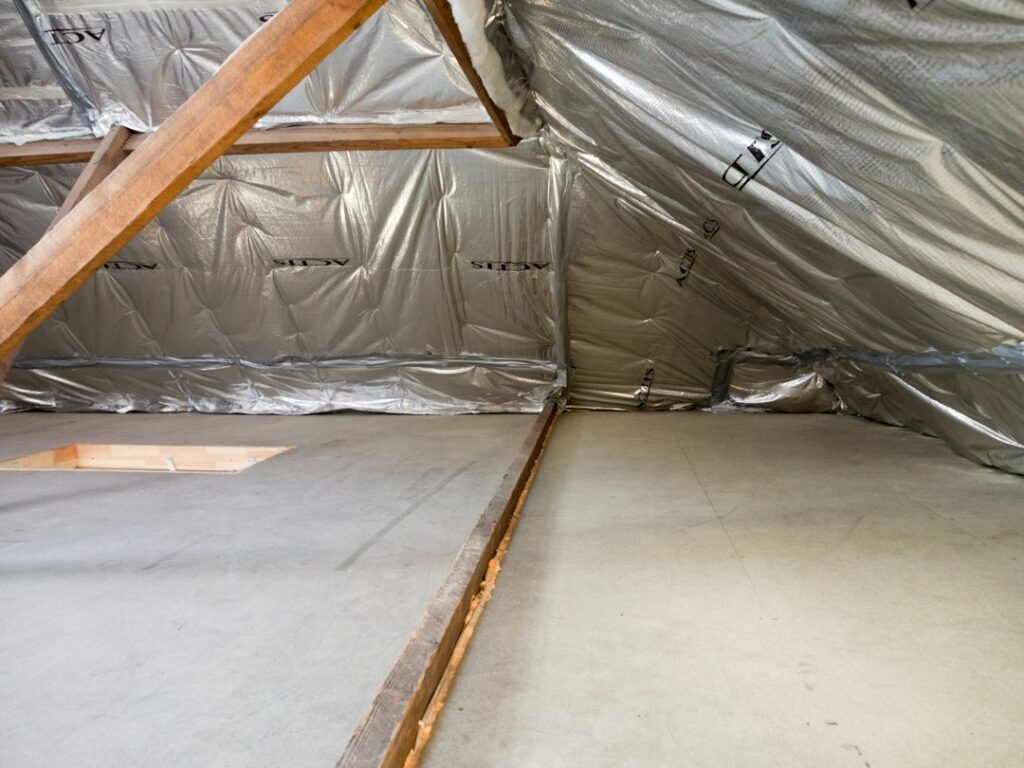
Encapsulation Cost Depends on the System, Not Just Square Footage
Homeowners often search for a single per-square-foot price for crawl space encapsulation. That can be useful as a rough comparison, but it does not explain why two quotes for the same home can be thousands of dollars apart.
Encapsulation can mean anything from sealing a ground liner to installing a complete moisture-control system with wall liner, sealed vents, drainage, a sump pump, air sealing, insulation changes, and a dehumidifier. The more water and structural problems that must be corrected first, the higher the total project cost.
What a Proper Encapsulation Usually Includes
A complete system commonly includes a durable vapor barrier across the crawl-space floor, sealed seams, liner extended around piers, wall attachment, sealed vents and penetrations, and some method of controlling humidity. Depending on the home, the project may also include drainage, a sump pump, dehumidifier, old insulation removal, mold cleanup, or new insulation.
When comparing prices, confirm whether the contractor is quoting only the liner or the entire moisture-control system.
The Biggest Cost Factors
Crawl-space size
Larger spaces require more liner, tape, fasteners, labor, and time. Square footage matters, but complex layouts can make a smaller space more difficult than a large open one.
Clearance and access
Low crawl spaces are slower and harder to work in. Small access doors, narrow sections, ductwork, and plumbing can significantly increase labor.
Liner thickness and quality
Thin polyethylene costs less than heavy reinforced crawl-space liner. Thicker materials are more resistant to punctures and usually carry stronger warranties.
Wall and pier coverage
Sealing only the floor uses less material than extending liner up walls and carefully wrapping piers. Detailed sealing around columns and penetrations increases labor.
Drainage problems
Standing water changes the project. Interior drainage, sump basins, pumps, discharge lines, or exterior corrections may be necessary before encapsulation can perform properly.
Dehumidification
A crawl-space-rated dehumidifier adds equipment and installation cost but is often important in sealed systems, especially in humid climates.
Removal and remediation
Old insulation, debris, damaged liner, pest contamination, or mold can require cleanup before new materials are installed.
Basic Vapor Barrier vs Full Encapsulation
A basic vapor barrier is mainly intended to reduce moisture evaporating from soil. Full encapsulation creates a more complete air and moisture boundary. The price difference can be substantial because full systems require sealing details, wall coverage, vent treatment, and humidity control.
If a quote seems unusually low, ask whether it includes wall sealing, vents, piers, drainage, and a dehumidifier. If a quote seems unusually high, ask which existing problems are being corrected before the liner is installed.
Optional Upgrades That Change the Price
Common upgrades include thicker liner, drainage matting, perimeter drains, sump pumps, battery backup, remote humidity monitoring, a permanent dehumidifier, access-door replacement, rigid foam insulation, pest-resistant details, and service plans.
Some upgrades solve a real site problem; others may be unnecessary. Each should be tied to a specific need.
DIY vs Professional Encapsulation
DIY can reduce labor cost, especially in a clean, dry, high-clearance crawl space. However, professional installation becomes more valuable when the space has water entry, low clearance, complex piers, mold, damaged insulation, drainage needs, or electrical and HVAC obstacles.
The most expensive DIY mistake is installing a liner before solving bulk water. If the crawl space still floods, the liner can hide water rather than solve it.
How to Compare Quotes
Ask for the liner brand and thickness, total square footage, wall height covered, seam method, pier treatment, vent sealing, drainage scope, dehumidifier model, insulation work, cleanup, warranty, and service requirements.
Two contractors may both call their service “encapsulation” while quoting different systems. A written scope makes the comparison fair.
When Encapsulation Is Worth the Cost
Encapsulation is most compelling when a crawl space has exposed soil, recurring humidity, musty odors, condensation, damaged insulation, or moisture that affects the home above. It may also improve comfort by reducing uncontrolled air exchange and ground moisture.
It is less compelling when the main problem is an isolated plumbing leak or major groundwater issue that has not been fixed. Those problems should be handled first.
How to Avoid Paying Twice
Use the correct order: correct drainage and leaks, dry the space, repair structural or mold damage, install the moisture-control system, then maintain humidity. Installing encapsulation before fixing water entry can force parts of the system to be removed later.
FAQ
Why do encapsulation estimates vary so much?
The quoted scope may differ. One price may cover only a liner, while another includes drainage, wall sealing, insulation removal, and a dehumidifier.
Is thicker vapor barrier always better?
Thicker reinforced liner is more durable, but thickness alone does not determine system quality. Seam sealing, wall attachment, drainage, and humidity control also matter.
Does encapsulation include a dehumidifier?
Sometimes. It should be listed explicitly in the quote, including the model and drainage method.
Should drainage be installed before encapsulation?
Yes when the crawl space has recurring standing water or seepage. Bulk water should be controlled before sealing the space.