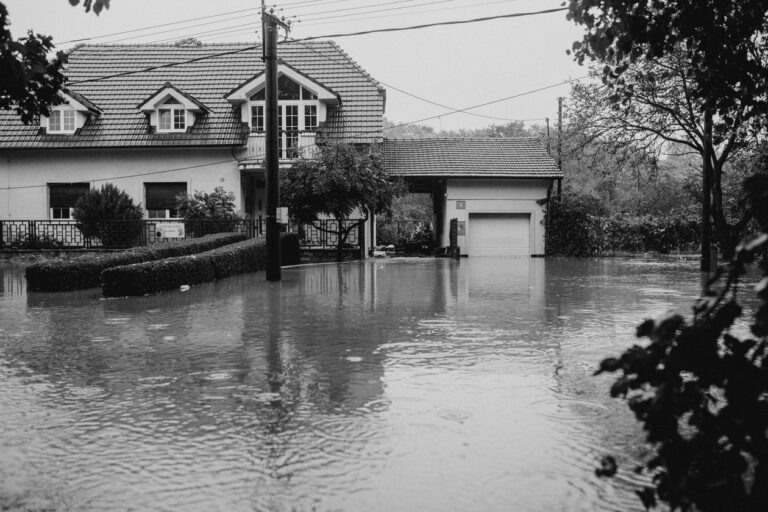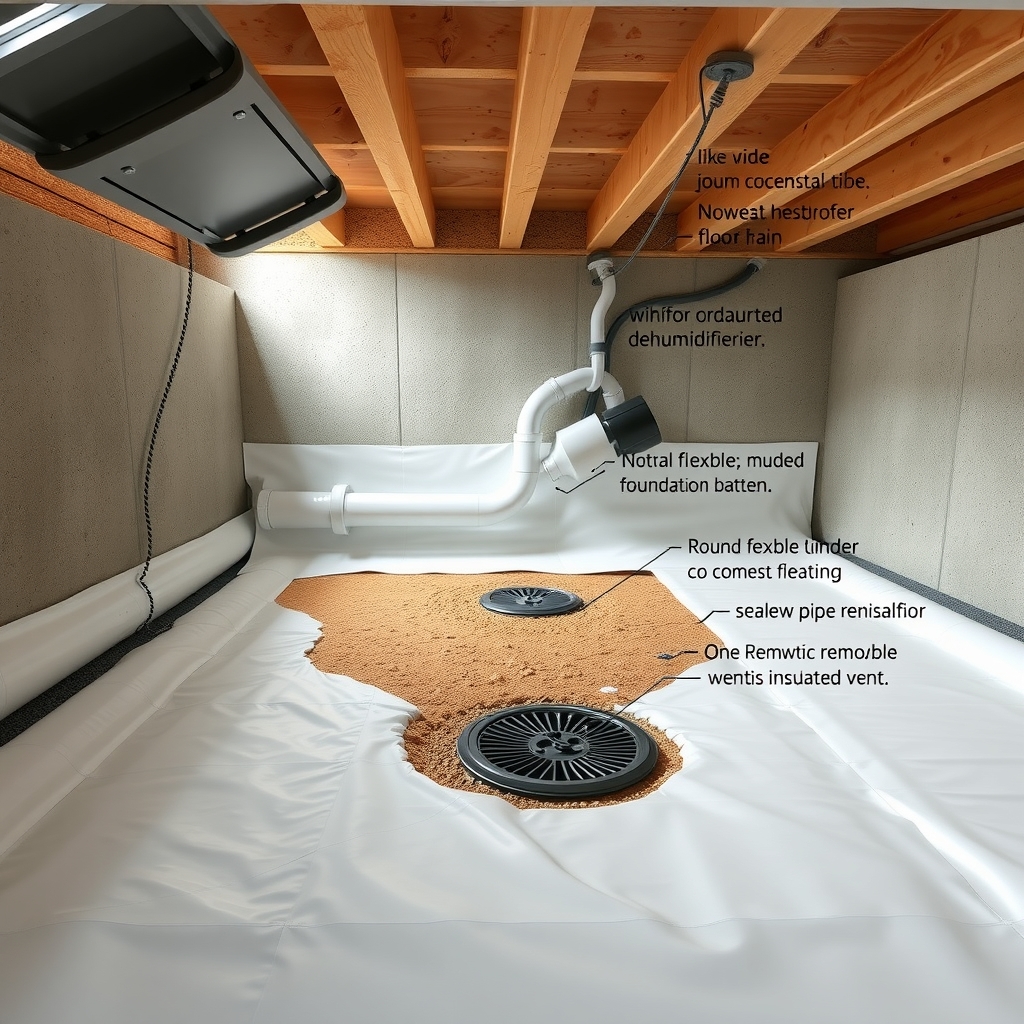
Crawl space encapsulation is a sealed-space strategy, not a single liner. Learn how to separate water, vapor, humidity, and leaks before comparing scopes or deciding whether encapsulation fits.
Use an AI assistant to explore the article
Choose an assistant. The article link and a ready-to-use summary prompt will be copied automatically.
 ChatGPT
 Gemini
 Claude
 Perplexity
 Grok
Table of contents
Crawl space encapsulation is a moisture-control strategy made of several possible parts: a ground liner, sealed seams and penetrations, wall coverage, a vent and insulation plan, and sometimes humidity-control equipment. It is not simply rolling plastic over dirt, and it is not a cure for every wet or musty crawl space.
The important question is not “Do I need encapsulation?” at first. It is “What kind of moisture is entering this crawl space?” Standing water, soil vapor, humid air, condensation, and a plumbing leak can look similar from the access door, but they need different repairs. A liner can limit vapor from soil; it cannot stop an active leak or replace drainage.
CrawlSpacePilot is an independent education publisher. We do not inspect homes, install systems, or test products. This guide is general information, not an assessment of your house; see our site disclaimer for more context.
First, Separate the Water Problem From the Vapor Problem
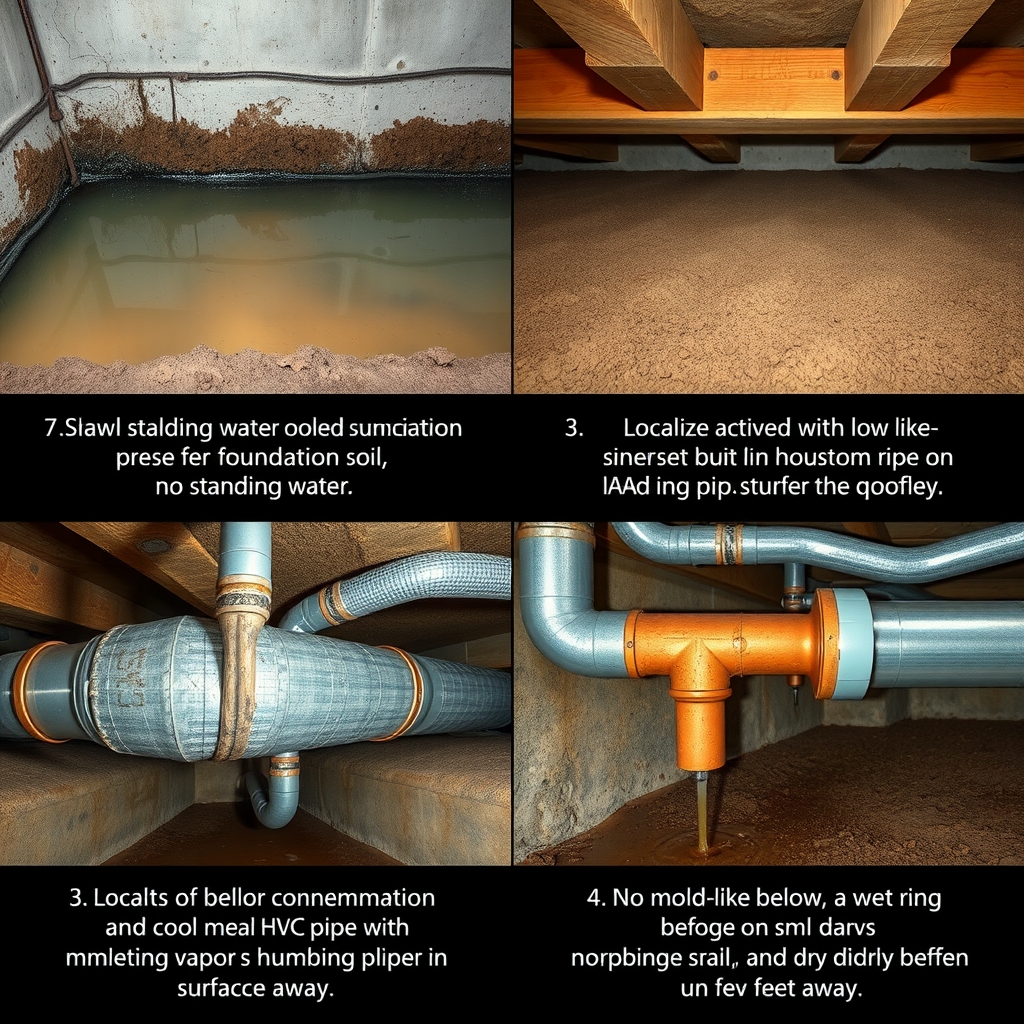
Before comparing liner thicknesses or contractor bids, separate the moisture pathways. More than one pathway can be active at once.
- Bulk liquid water is visible water: runoff after rain, seepage at a wall, ponding on the soil, or water entering from below. It may involve exterior grading, downspouts, drainage, groundwater, or flooding.
- A plumbing or HVAC leak usually has a more specific location. You may see drip marks below a pipe, fixture, drain, air handler, or condensate line. A leak can continue during dry weather.
- Ground vapor rises from exposed soil as water vapor. The soil may look merely damp rather than flooded. A ground liner is intended to reduce this pathway.
- Elevated air humidity means the crawl space air holds substantial moisture even when there is no visible water. Outdoor air, air movement from the house, soil vapor, and inadequate moisture management can all contribute.
- Condensation forms when moist air contacts a surface that is cool enough for moisture to collect. Cold ducts, pipes, and metal equipment may show droplets even when the soil is not visibly wet.
A musty odor, a damp-looking surface, or a high humidity reading alone does not identify the source. Odor can be a reason to investigate, but it cannot tell you whether the issue is runoff, vapor, a leak, condensation, or growth on building materials.
Clues You Can Gather Safely
You can collect useful observations without treating them as a diagnosis:
- Place a humidity gauge in the crawl space and record the reading, location, date, and weather conditions.
- Note whether water or wet soil appears after rain, only during certain seasons, or even through extended dry weather.
- From outside, look at whether downspouts discharge near the foundation and whether ground surfaces appear to direct water toward the house.
- From a safe vantage point, look for drip marks, localized staining, white mineral deposits on masonry, damp insulation, or condensation on ducts and pipes.
- Note where the odor is strongest and whether it changes after rain or when HVAC equipment runs.
Do not enter standing water near wiring, lighting, an electrical panel, or equipment that could be energized. Do not handle sewage, disturb extensive mold-like growth, or enter a crawl space where access is unsafe.
What Still Requires On-Site Evaluation
An article cannot determine the actual water source for a particular home. It also cannot establish whether water pressure is acting against the foundation, whether framing or subfloor materials are compromised, whether combustion appliances have adequate air, whether radon mitigation is appropriate, or whether termites are active.
Those questions call for the appropriate qualified professional: for example, a drainage or foundation-water specialist for recurring water, a licensed plumber or HVAC technician for a suspected mechanical leak, a qualified pest professional for termite concerns, and an appropriate structural professional when framing appears soft, significantly displaced, or damaged.
What Encapsulation Can and Cannot Do
Encapsulation can limit water vapor rising from exposed soil, reduce uncontrolled air exchange with the exterior when the design calls for it, support humidity management, and make the crawl space cleaner to inspect and maintain.
What encapsulation does not fix: It does not stop an active plumbing or HVAC leak, replace drainage, solve a rising water table, correct poor grading or downspout discharge, repair rot or compromised framing, or identify or treat a health condition. Recurring standing water needs its own water-management plan before a liner is installed.
That distinction matters when reading a quote. A proposal that includes a liner but says little about active water, a visible leak, or wet debris may be incomplete for the conditions you observed.
The Component Stack: Scope, Not a Product
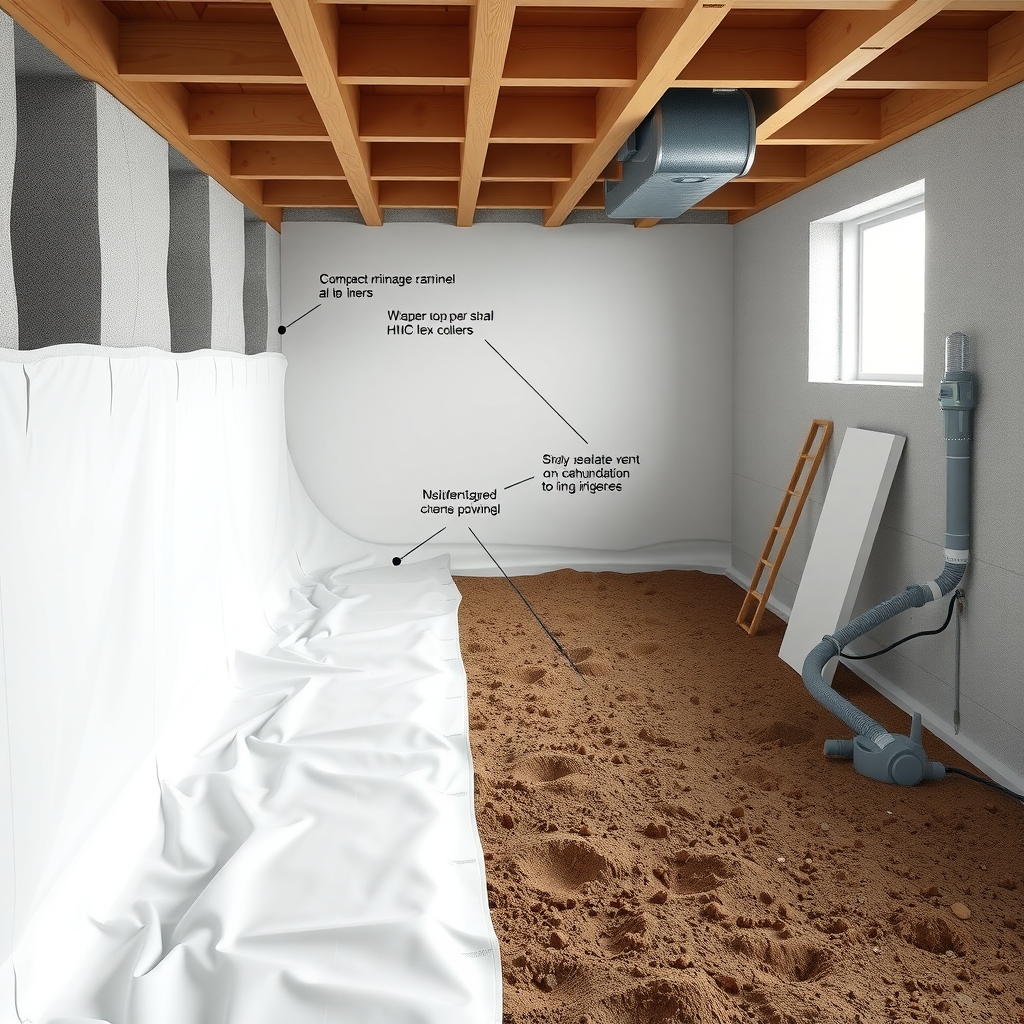
Not every crawl space needs every component below. A useful scope explains what is included, why it is included, and what problem it is meant to address.
Ground Liner Over Soil
A ground liner primarily limits vapor moving from soil into the crawl space. It is commonly called a vapor barrier, although the appropriate material specification should be identified in writing rather than assumed from a generic label.
A liner is not a liquid-water repair. Installing it over unresolved ponding or a water source that repeatedly wets the soil can hide the symptom while leaving the source active underneath. Ask for the exact liner material and thickness specified in the bid, along with the manufacturer documentation that applies to that product.
Wall Liner and Termination
Some scopes extend the liner up foundation walls. This can help create a more continuous vapor and air-control layer, depending on the overall design. The wall edge needs a stated termination detail so the material is not simply left loose where it can pull away or tear.
Ask where wall coverage begins and ends, how it will be attached, and whether access points remain serviceable afterward.
Seams, Penetrations, Columns, and Piers
Seams, pipes, ducts, wires, columns, and piers interrupt an otherwise continuous liner. Their treatment is part of the work, not a cosmetic add-on. Poorly joined seams or open gaps around penetrations can reduce the intended vapor and air-control benefit.
The number of piers and penetrations also changes labor. If one quote includes wrapping and sealing those details and another only lists floor coverage, the totals are not describing the same scope. Details around piers should also preserve any needed termite inspection access.
Vent Strategy
Foundation vents should be treated as a design decision, not a universal close-or-open instruction. Some crawl spaces remain vented. Others are designed as sealed or conditioned spaces. The appropriate approach depends on climate, local requirements, insulation location, how the crawl space communicates with the house, and whether combustion equipment uses or is near that space.
A bid should state the vent strategy explicitly. “Encapsulation” alone does not tell you whether vents will remain open, be sealed, or be managed another way.
Insulation and Rim Joists
Insulation location changes with the crawl space strategy. A vented design may use a different insulation approach than a sealed or conditioned design. Wet, fallen, or deteriorated insulation may need removal before new moisture-control work, but removal and replacement are separate scope items that should appear in writing.
Do not assume a quote includes insulation removal, wall insulation, rim-joist treatment, or floor insulation replacement unless each is listed.
Dehumidification or Conditioning
Sealing a crawl space changes how moisture is managed. Depending on the house, climate, and vent strategy, the plan may use active dehumidification, controlled air communication, or another approved approach. A dehumidifier may be useful for humidity control, but it does not remove recurring standing water or repair a leak.
If a quote includes a dehumidifier, ask for the model, the basis used to select it, where its water will drain, whether a pump is needed, who will provide electrical work, and what maintenance is expected. Avoid treating one relative-humidity number as a universal rule; the operating target should be confirmed for the specific design and local conditions.
Drainage: A Prerequisite, Not a Component
Drainage is separate from encapsulation. Exterior grading, downspout management, an interior or perimeter drain, a basin, and a sump pump address liquid-water pathways. They may be necessary before lining, but they are not automatically required in every crawl space.
If water enters after rain, or water remains on the soil, ask for the proposed water source and drainage plan before approving a liner-only scope. For a water-first decision path, read what to do first when the crawl space is wet.
Order of Operations: What Happens Before the Liner Goes Down
The sequence matters because later work can conceal an unresolved problem.
- Identify and correct the water source. Determine whether the issue appears tied to rain, groundwater, a pipe, HVAC equipment, or condensation. A recurring leak or water intrusion should be addressed before a liner covers the floor.
- Correct exterior water handling where needed. Grading and downspout discharge can be part of the solution when runoff is directed toward the foundation.
- Remove wet debris, failed insulation, and organic material. This allows the space and its conditions to be evaluated more clearly. Extensive contamination, pests, or recurring mold-like growth may require qualified help.
- Address standing water with an appropriate drainage solution. The correct method depends on the water source and site conditions. Do not use a liner as a substitute for drainage.
- Complete cleaning or remediation that the condition warrants. The scope should say what will be cleaned, removed, or left in place. Appearance alone cannot identify a substance or define how far it has spread.
- Install the liner and close continuity gaps. This includes floor coverage, seams, penetrations, piers, and wall terminations that are part of the chosen design.
- Resolve the vent and insulation strategy. These choices should align with the moisture plan, local requirements, and mechanical equipment in or near the crawl space.
- Add humidity control or conditioning if indicated. Equipment selection and drainage for that equipment should be included in the written scope.
- Verify conditions after the work. Record humidity and moisture observations at consistent locations rather than relying only on a visual impression.
- Document the completed scope. Keep product information, drainage details, equipment instructions, permits if applicable, and warranty terms with the home records.
When Encapsulation Fits, and When It Is Premature
It may fit when exposed soil is contributing vapor, the crawl space has persistently damp air or humidity concerns, active water sources have been addressed, and a workable drainage and vent strategy is identified.
It is premature when there is active standing water, water entering after rain without a correction plan, a suspected leak, or a drainage problem that has not been evaluated. The first purchase in those cases is usually diagnosis and water management, not more liner.
It may be mismatched or larger than necessary when the issue is a specific, fixable source such as one plumbing leak, a failed condensate drain, or downspout discharge at the foundation. That does not rule out later encapsulation, but it means the smaller repair deserves attention first.
Alternatives and Adjacent Work People Confuse With Encapsulation
| Option | What it addresses | Where it falls short | What should come first |
|---|---|---|---|
| Ground liner only | Vapor rising from exposed soil | Does not create a fully sealed space or fix liquid water | Confirm that standing water and leaks are not active |
| Drainage and water management | Runoff, seepage, or water accumulation, depending on design | Does not by itself control all soil vapor or air humidity | Identify the water pathway |
| Grading and downspout correction | Roof runoff and surface water near the foundation | Does not repair an indoor leak or manage all groundwater conditions | Observe rain-related patterns outside |
| Humidity control alone | Moist air in the crawl space | Does not stop a leak, ponding, or soil vapor pathway by itself | Determine why humidity is elevated |
| Waterproofing coatings | May be part of a specific masonry-water strategy | Are not a complete crawl-space moisture plan | Identify where liquid water is entering |
| Structural repair | Framing or support concerns identified on site | Does not correct the moisture source that contributed to conditions | Obtain an appropriate on-site assessment |
Vent Strategy, Combustion Appliances, and Radon
A sealed crawl space can change air movement and pressure relationships around a home. If gas, oil, or other combustion equipment is in or served by the crawl space, combustion-air adequacy is an on-site evaluation item before vents are sealed or air pathways are changed.
Radon is also property-specific. Testing is how you learn whether it is a concern in a particular home. If radon mitigation may be needed, raising the question while a sealed-space project is being designed can help avoid a harder retrofit later. It does not mean every crawl space needs the same mitigation system.
DIY or Professional: Where the Line Actually Sits
Stop and get qualified help if there is standing water near energized equipment or lighting, sewage, suspected gas, suspected structural instability, extensive or recurring mold-like growth, a pest infestation, or crawl-space access that makes safe entry doubtful.
DIY liner work can be physically demanding even in a dry crawl space. Low clearance, uneven soil, sharp debris, existing insulation, pipe and duct obstructions, and the need for durable seams can make preparation the hardest part. “Possible to do yourself” is not the same as “appropriate for this crawl space.”
Licensed trades should handle dedicated electrical work for a dehumidifier or sump pump, gas or combustion-appliance work, and structural assessment or repair. If you pursue a DIY scope, do not skip the water-source investigation or substitute a liner for drainage.
Reading a Quote: Scope Checklist and Questions to Ask

Use this as a markup sheet beside each proposal. Check whether each bidder addresses the same item.
- [ ] Crawl space footprint and wall height to be covered
- [ ] Exact liner material and thickness stated in writing
- [ ] Floor coverage, wall coverage, and wall-termination detail
- [ ] Seam treatment and treatment at pipes, ducts, wires, columns, and piers
- [ ] Vent strategy stated clearly
- [ ] Existing insulation removal, disposal, replacement, or exclusion
- [ ] Water-source findings and drainage scope, if water is present
- [ ] Sump basin, pump, discharge destination, and power needs, if included
- [ ] Electrical work, permit responsibility, and who performs it
- [ ] Dehumidifier model, selection basis, drain route, pump needs, and servicing
- [ ] Moisture or humidity readings recorded before and after work
- [ ] Cleanup, debris removal, and access restoration
- [ ] Termite inspection access and any existing termite-bond requirements
- [ ] Permit responsibility and local requirement confirmation
- [ ] Warranty duration, transferability, exclusions, and conditions that void it
- [ ] Firm scope versus estimate with allowances or change-order terms
When two bids differ sharply, ask: “What water pathway are you addressing?” “What is excluded?” “What happens if water returns?” “Which items are assumptions rather than included work?” and “Can you show the liner, drainage, electrical, and humidity-control details separately?”
A lower price is not automatically a worse bid, and a higher price is not automatically a more complete one. Price differences often reflect different scopes. Compare line by line before deciding.
What Drives Cost, Without a Made-Up Average
A quoted price reflects a particular scope, place, and date. National averages can obscure the differences that matter most.
Major cost drivers include crawl space footprint, wall height and wall length, access and clearance, existing moisture conditions, debris and insulation removal, the number of piers and penetrations, drainage additions, electrical work, humidity-control equipment, disposal needs, and regional labor conditions.
The useful comparison is not price per square foot alone. It is whether each quote addresses the same water source, preparation work, liner details, equipment, electrical needs, and follow-up responsibility.
Monitoring and Maintenance After the Work
A sealed crawl space still needs observation. Periodically take humidity readings from a consistent location, inspect seams and wall edges, look for tears near access paths or stored items, and verify that humidity-control equipment is operating and draining as intended.
Watch for recurrence: new wet soil or ponding beneath or beside the liner, rising humidity after a stable period, water tracking after rain, fresh drip marks, or liner edges pulling away from their termination. A second layer of material is rarely the first answer to recurrence. Find the water or air pathway that changed.
Keep termite inspection access usable. If you plan to use the crawl space for storage, avoid dragging sharp objects across the liner and consider how foot traffic will be managed without damaging it.
The “Wood Dries Out” Question
Homeowners sometimes report floor or joist changes after a long-damp crawl space dries. That is a possible condition to monitor, not a prediction that it will happen in your house. Floor movement can have multiple causes, and a change noticed after moisture work does not establish the cause by itself.
If you see significant movement, soft framing, or floor changes, seek an on-site assessment rather than assuming encapsulation caused or will solve a structural problem.
Climate, Code, and Local Rules
Vent strategy, insulation placement, liner details, termite-access expectations, and permit requirements vary by climate, building design, and the code edition adopted where you live. Crawl space vented and unvented provisions are often discussed in relation to the International Residential Code, but an article cannot establish what your jurisdiction has adopted or amended.
Confirm applicable local requirements with the authority having jurisdiction and, where appropriate, the professionals designing the work. Do not accept “code requires this everywhere” as a substitute for identifying the locally applicable rule.
What Government Research Says About Closed Crawl Spaces
The U.S. Department of Energy’s Building America program studied closed (unvented) crawl spaces and reported that, compared with traditional vented crawl spaces, they used 15% to 18% less energy for heating and cooling and reduced humidity by more than 20%. The DOE summary also notes that vents are meant to prevent moisture problems, but in humid climates outside air is often more moist than the air in the crawl space. These results influenced the 2009 and 2012 International Residential Code, which now allows unvented crawl spaces (section R408.3). Treat them as research findings from specific projects, not a promise for your home.
Building Science Corporation’s Armin Rudd, in a Building America evaluation of crawl space retrofits, reported that the hardest part of one project was bulk water from inadequate site drainage, window well drainage, foundation wall drainage and a rising water table, and wrote that ideally such water is eliminated by addressing drainage before an unvented retrofit begins. That is why the prerequisites earlier on this page come before the liner.
Sources and Further Reading
- U.S. Department of Energy, Unvented, Conditioned Crawlspaces: Building America Top Innovation.
- Armin Rudd, Building Science Corporation, Evaluation of Crawlspace Retrofits in Multifamily Buildings (Building America, September 2014).
Last reviewed: October 20, 2026.
Related Guides
- Crawl Space Access Door: the access door or hatch is part of the sealing work.
- Crawl Space Flood Vents: why encapsulation in a flood zone still needs flood openings.
- Is Crawl Space Encapsulation Worth It?: the decision guide for your situation.
- Crawl Space Encapsulation Cost: what moves the price.
- How to Choose a Crawl Space Encapsulation Contractor: vetting bids.
- Vapor Barrier vs Encapsulation: how much sealing you need.
- Crawl Space Vents: Open or Closed?: the vent question before you seal.
- Radon and Your Crawl Space: why sealing is not a radon test.
Frequently Asked Questions
Is crawl space encapsulation worth it?
It may be worthwhile when soil vapor and uncontrolled air movement are meaningful parts of a broader moisture problem and liquid-water sources have been addressed. It is not a good value when a specific leak, grading issue, or drainage failure is still active. What changes the answer for your house is the actual moisture pathway and the scope needed to control it.
Can you encapsulate a crawl space with standing water?
A liner should not be the first response to standing water. The water source and drainage plan need attention first. What changes the answer is whether the water comes from runoff, groundwater, a plumbing leak, HVAC equipment, or another source.
Do I always need a dehumidifier after encapsulation?
No universal answer applies. A sealed crawl space may need active humidity control or another moisture-management approach depending on climate, design, vent strategy, and air movement in the home. The equipment decision should follow the moisture assessment, not precede it.
Will encapsulation eliminate a musty smell?
It may help when the odor is tied to soil vapor or elevated crawl-space moisture that the completed system actually controls. A smell can also persist because of wet materials, an active leak, contamination, or another pathway. What changes the answer is the source of moisture and odor.
How long will the liner last?
Durability depends on the material, installation quality, traffic, pests, storage practices, water conditions, and maintenance. Review the product documentation and written warranty for the specific system rather than relying on a generic lifespan claim.
Can I use an encapsulated crawl space for storage?
Possibly, but storage can tear a liner or block access to plumbing, equipment, and termite inspection areas. The practical question is whether the planned storage can be placed without damaging the liner or interfering with maintenance.
If the moisture source is unclear, water keeps returning, or two bids differ sharply in scope, ask a qualified specialist to document the cause and proposed work in writing. Then compare those documents line by line using this checklist and the related crawl space guides and repair explainers.
This guide is educational. Structural movement, contaminated water, widespread mold, electrical hazards, or recurring flooding may require an on-site professional assessment.